Some of the links in this article are "affiliate links", a link with a special tracking code. This means if you click on an affiliate link and purchase the item, we will receive an affiliate commission.
The price of the item is the same whether it is an affiliate link or not. Regardless, we only recommend products or services we believe will add value to our readers.
By using the affiliate links, you are helping support our Website, and we genuinely appreciate your support.
Why Bake Your Own Bread?
There’s something magical about baking your own bread. The aroma that fills your kitchen, the tactile pleasure of kneading dough, and the satisfaction of slicing into a freshly baked loaf—it’s all part of the experience. As someone who’s spent countless hours perfecting my own recipes, I can tell you there’s nothing quite like it.
Getting Started: Basic Ingredients
Before you dive into the world of bread baking, let’s talk ingredients. You’ll need flour, water, yeast, and salt. That’s the core of any bread recipe. From there, you can get creative, but starting simple is key. I remember my first loaf was just these four ingredients, and it was a revelation.
Choosing the Right Flour
Flour is the backbone of your bread, and choosing the right type can make or break your loaf. All-purpose flour is a good starting point, but if you’re feeling adventurous, try bread flour for a chewier texture. I often switch between them depending on my mood and the kind of bread I want to make.
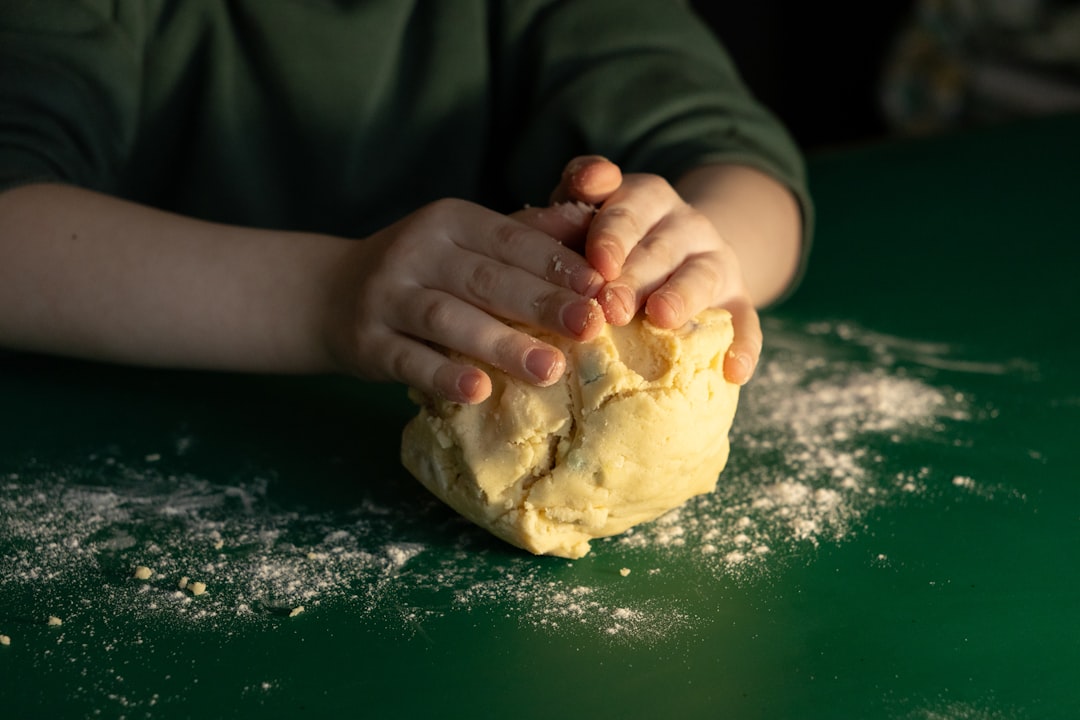
The Art of Kneading
Kneading is where the magic happens. It’s all about developing gluten, which gives bread its structure. I find it therapeutic—there’s a rhythm to it that I enjoy. If you’re new to this, don’t worry about perfection. Your hands will learn the feel of the dough over time.
Letting Your Dough Rise
Patience is your best friend here. Allowing dough to rise gives it flavor and texture. I usually let mine rise until it doubles in size, which can take a couple of hours. It’s a perfect time to catch up on a good book or prep other parts of your meal.
Shaping and Baking
Once your dough has risen, it’s time to shape it. Whether you prefer a classic loaf or something more artisanal, the choice is yours. I often experiment with different shapes—it’s part of the fun. When it comes to baking, a hot oven is crucial. It helps the bread develop a nice crust.
Enjoying Your Homemade Bread
The moment your bread comes out of the oven is pure joy. I like to let it cool slightly before slicing, even though the temptation to dive right in is strong. Pair it with butter or your favorite spread. Trust me, the taste is unbeatable.
Troubleshooting Common Issues
Every baker faces challenges. Flat loaves, dense textures, or lack of flavor—I’ve been there. It’s all part of the learning curve. Keep a notebook handy to jot down what works and what doesn’t. Over time, you’ll develop a sense for what your bread needs.
Experimenting with Flavors
Once you’re comfortable with the basics, start experimenting. Add herbs, seeds, or even cheese. I love adding rosemary for a fragrant touch or sesame seeds for crunch. It’s a great way to personalize your bread and keep things interesting.