
How to Make Baked Breaded Chicken in the Oven

Serves4
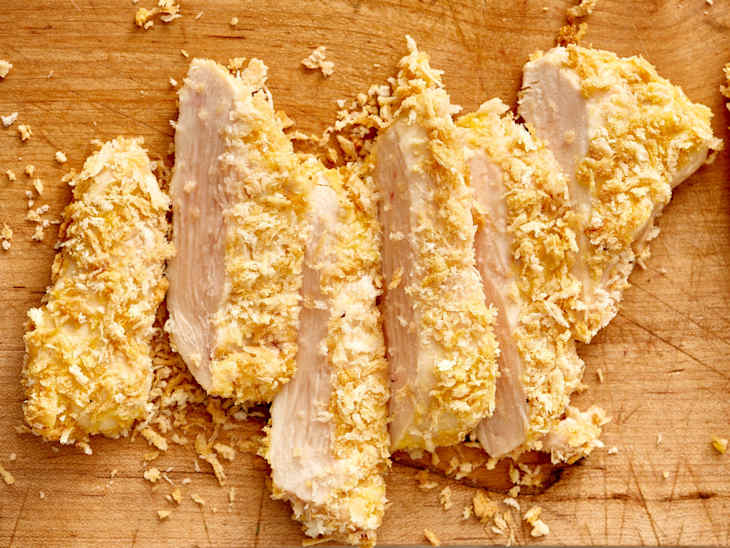
The promise of crispy, juicy chicken from the oven — rather than the fryer— can seem like a tall order. Is there a way to get the chicken just as crispy as it is when its fried? Will the oven dry the chicken out?
While this recipe technique isn’t quite as simple as shaking chicken with breadcrumbs in a bag, the results are worth the minimal extra effort. Toasted panko breadcrumbs give the chicken a golden, crispy exterior, while a paste of eggs and mayo keeps the chicken juicy. This recipe is not a play on oven-fried chicken — it’s more a homage to the baked, crumb-coated chicken of our youth, whether you grew up with Shake’N Bake or cornflake-crusted chicken cutlets. It’s also the answer to a quick dinner when the drive-thru might otherwise call your name.
How to Make Baked Breaded Chicken
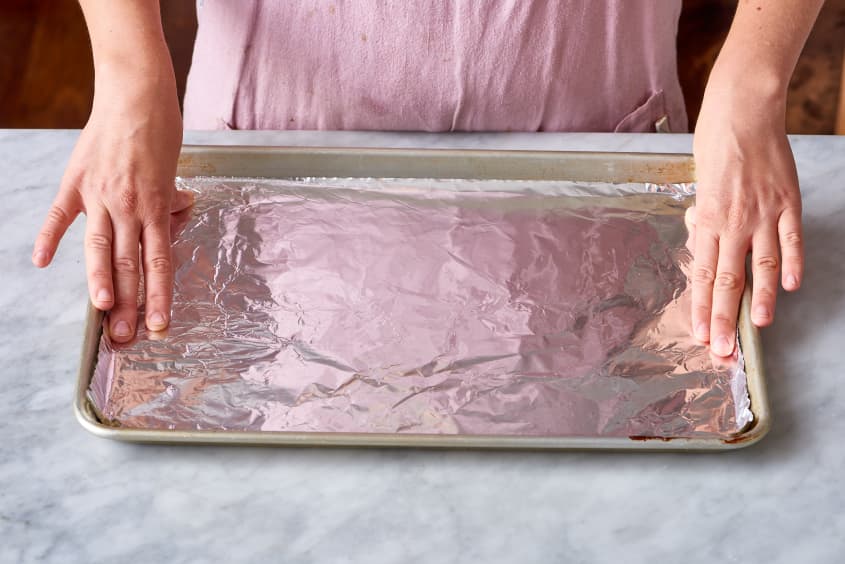
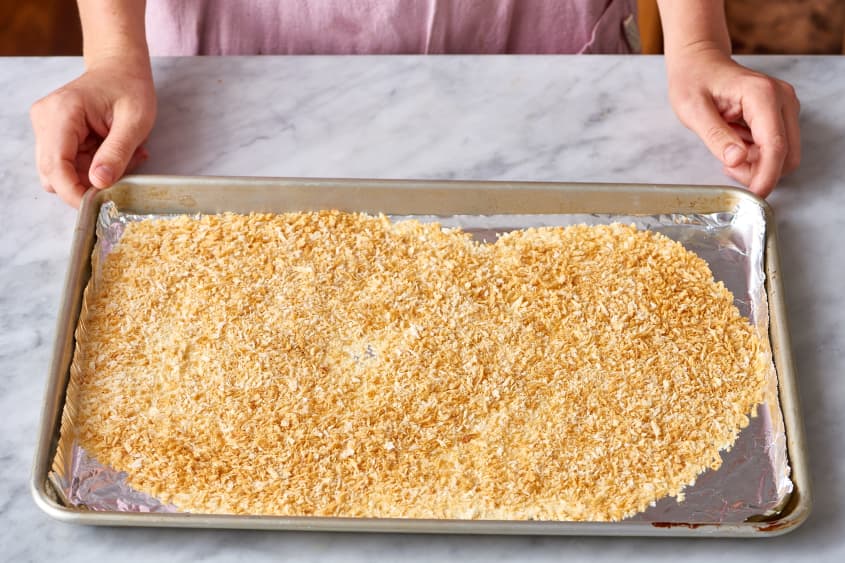
- Toast the breadcrumb coating. Toasting the panko breadcrumbs in the oven not only adds a ton of flavor and even more crunch, but it also gives the chicken a golden hue. Cover the baking sheet in foil so you can remove the foil after the panko is toasted and use it as a sort of tray for coating the chicken.
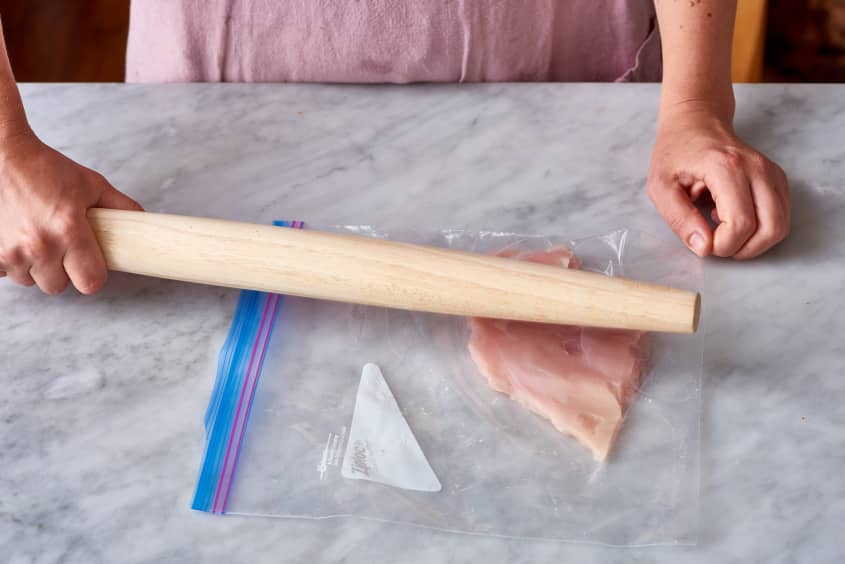
- Pound the chicken. Place each chicken breast inside a gallon-sized zip-top bag and pound to about a 1/4-inch thickness. You can use the flat side of a meat mallet or a rolling pin, or even a heavy glass or empty wine bottle.
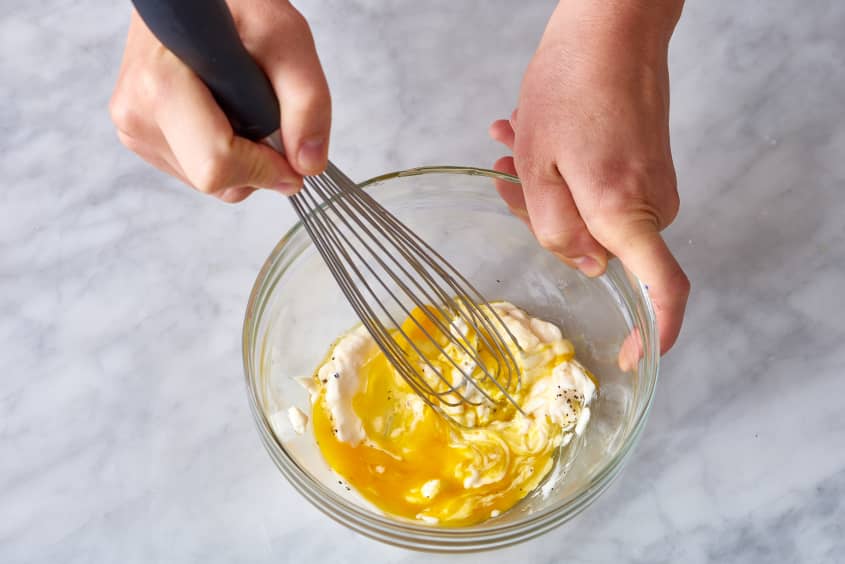
- Coat the chicken with egg and mayo. An egg coating is pretty traditional, but combining the egg with mayo helps the coating stick to the chicken and stay moist in the oven.
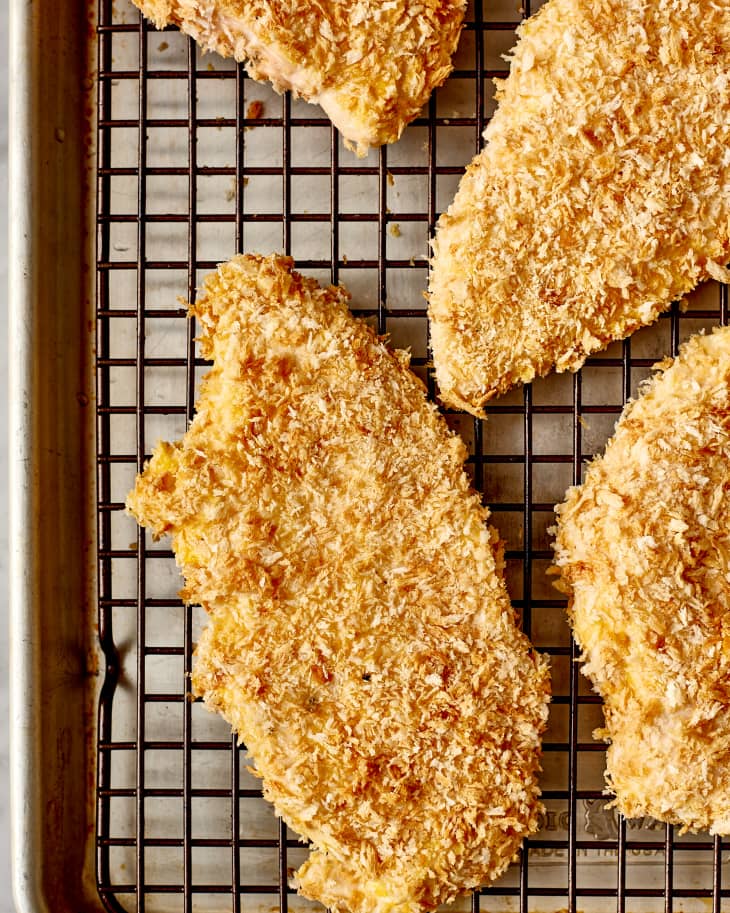
- Bake the chicken on a wire rack. This is the secret step that makes baking the chicken even faster and juicier. Elevate the chicken on a wire rack set inside a baking sheet to create airflow and circulation to efficiently cook it.
If You’re Making Baked Breaded Chicken , A Few Tips
- Pound the chicken. As you know, chicken breast comes in all different shapes and sizes. Pounding the chicken into thin, even pieces is key to keeping this crispy oven chicken juicy while it cooks. If pounding sounds more time-consuming than therapeutic to you, use my favorite hack: Pound the chicken inside a gallon-sized zip-top bag. The bag contains all the mess and won’t slip and slide under the mallet or rolling pin.
- You can use chicken thighs. This recipes calls for four boneless, skinless chicken breasts, but this technique works also on boneless, skinless thighs.
What to Serve With Baked Breaded Chicken
We love this chicken as an alternative to chicken fingers served with roasted broccoli and apple sauce on super-busy weeknights, but you can also dress it up and pair it with a salad and a nice sparkling wine. Chop it up to add to salads or serve over pasta — dinner hero achievement unlocked!


How To Bake Crispy, Juicy Chicken in the Oven
Serves 4
Nutritional Info
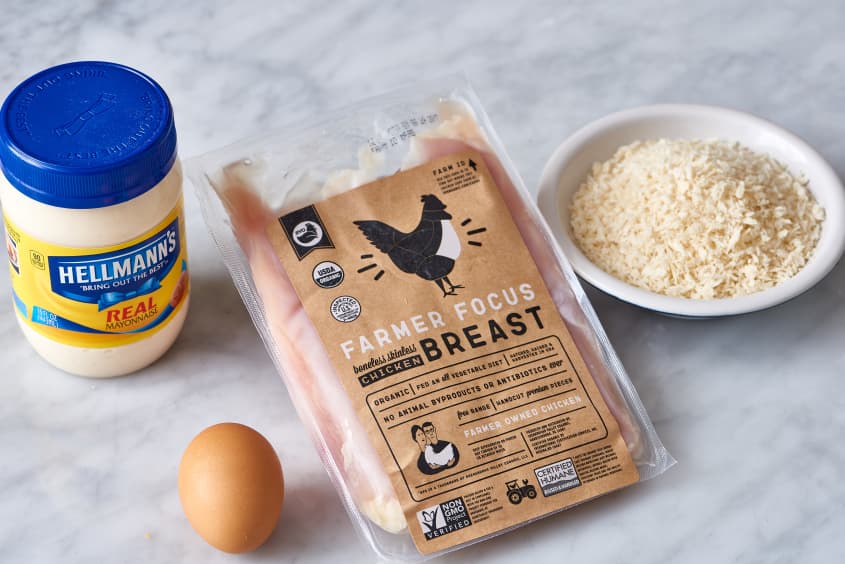
Ingredients
- 2 cups
panko breadcrumbs or saltine cracker crumbs
- 2 tablespoons
vegetable oil
- 1
large egg
- 1/4 cup
mayonnaise
- 1 teaspoon
kosher salt
- 1/4 teaspoon
garlic powder
- 1/4 teaspoon
freshly ground black pepper
- 1 1/2 pounds
boneless, skinless chicken breast (about 4)
Equipment
Measuring cups and spoons
Knife and cutting board
Gallon-sized zip-top bag
Meat mallet or rolling pin
Aluminum foil
Rimmed baking sheet
Wire rack
Mixing bowls
Paper towel
Instructions
Heat the oven to 425°F. Arrange a rack in the middle of the oven and heat to 425°F. Line a rimmed baking sheet with aluminum foil.
Toast the panko. Spread the panko or cracker crumbs out onto the baking sheet, add the oil, and toss to coat. Toast, stirring halfway through, 3 to 4 minutes; set aside to cool.
Combine the egg, mayo, salt, and pepper. Place the egg, mayonnaise, salt, garlic powder, and pepper in a large bowl and whisk until smooth; set aside.
Pound the chicken thin. Working with 1 chicken breast at a time, place inside a gallon zip-top bag and pound with the flat side of a meat mallet or rolling pin to an even 1/4-inch thickness. Set the flattened chicken breast aside and repeat with remaining breasts.
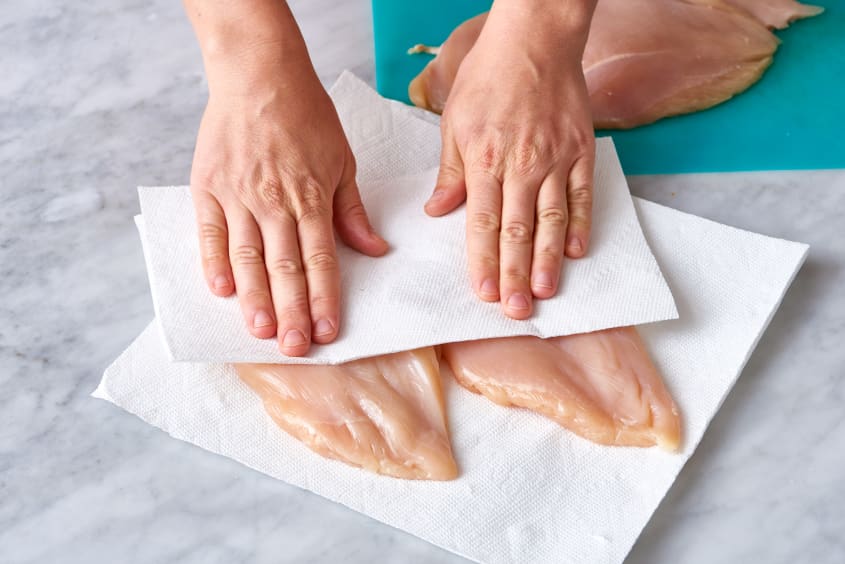
Pat the chicken dry with paper towels. Pat the chicken dry on both sides with paper towels. The is just a little extra insurance that the coating will stick well.
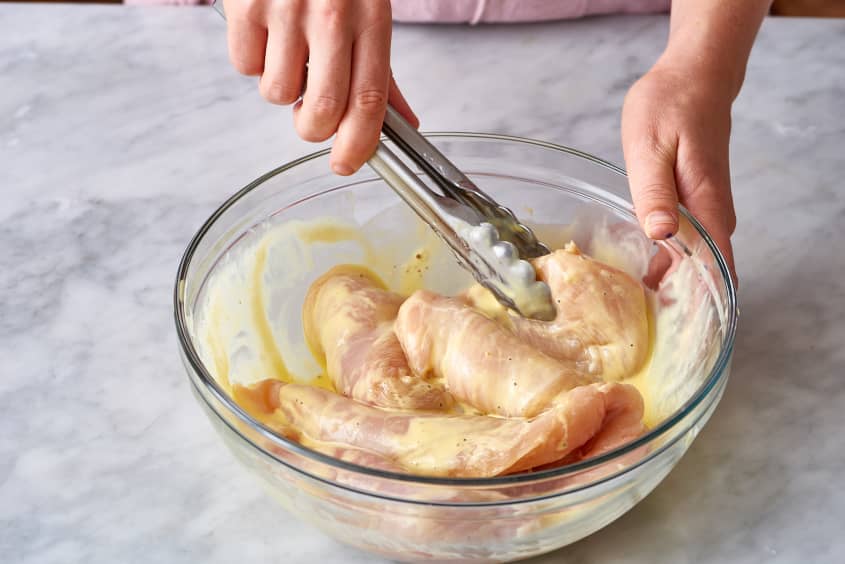
Coat the chicken with the egg mixture. Transfer the chicken to the egg mixture and toss with tongs until well coated; set aside.
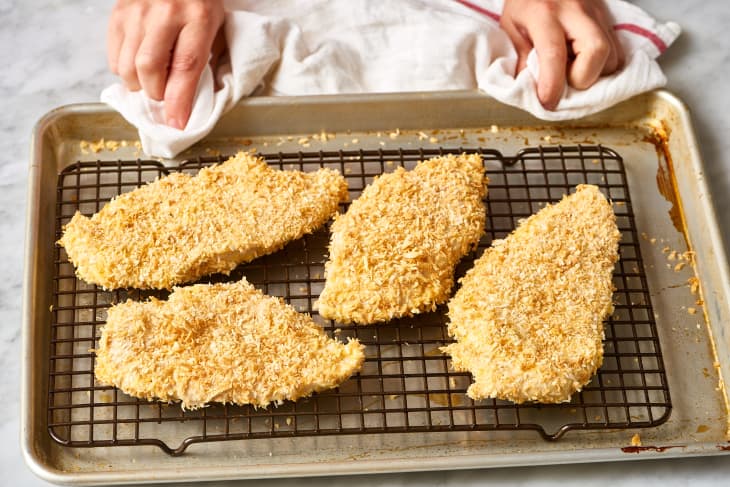
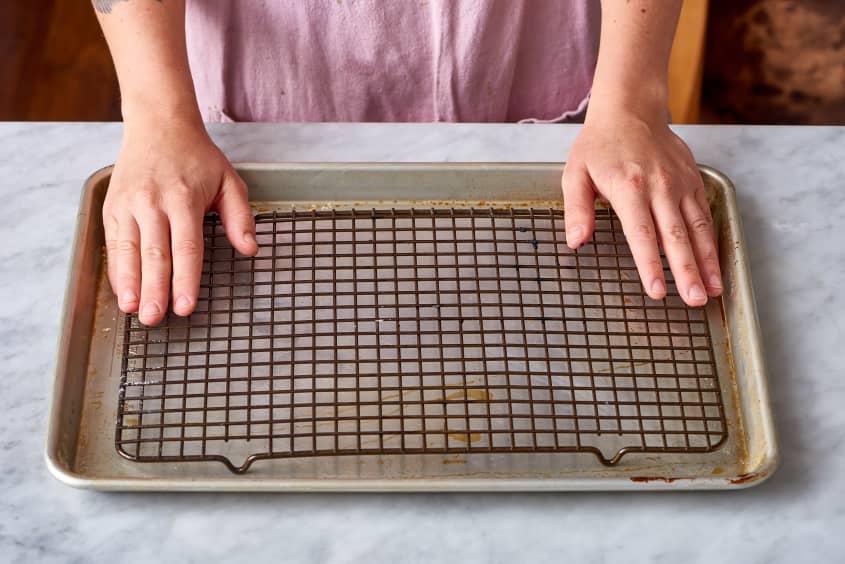
Prepare the baking setup for the chicken. Move the foil with the panko on it off of the baking sheet. Fit a wire rack into this baking sheet.
Press the panko onto the chicken. Working with 1 piece of chicken at a time, press the chicken into the panko on all sides. Move the coated chicken to the wire rack. You may have leftover breadcrumbs.
Bake for 15 to 20 minutes. Bake until the chicken is cooked through and golden-crisp, 15 to 20 minutes.
Recipe Notes
Storage: Leftovers can be stored in an airtight container in the refrigerator for up to 4 days.
Make ahead: The panko can be toasted, cooled, and stored in an airtight container at room temperature for up to 2 days.