
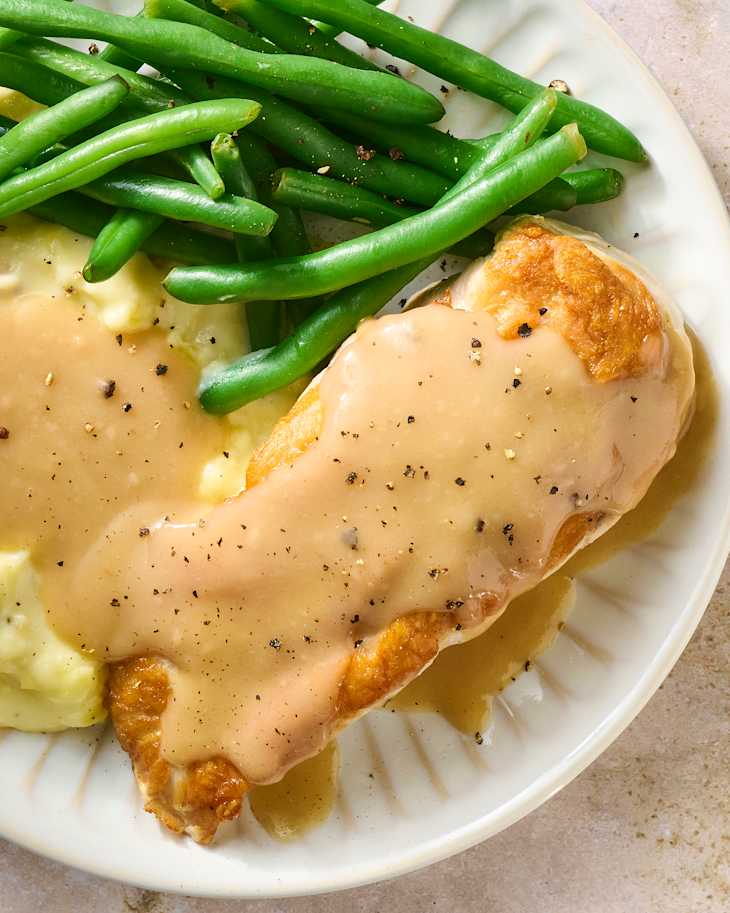
Chicken Gravy

So good, you’ll want to serve this chicken gravy over everything.
Serves8 to 10
Makes1 3/4 cups
Prep5 minutes
Cook10 minutes
Gravy doesn’t have to be reserved for the holidays, served from a jar, or made from a packet. It’s actually a simple sauce that takes very little effort (and even fewer ingredients), and it adds so much homemade flavor to a meal. Because gravy is made from the glossy, browned bits left on the bottom of the pan after roasting a chicken, I consider it a shame to let those bits go to waste. This recipe for chicken gravy takes you step-by-step through how to turn those bits into a smooth and silky gravy. And while the best chicken gravy starts with the drippings, we’ve also got you covered if there are no drippings to spare. We think you’ll love this savory sauce so much that you may eat it straight from the saucepan with a spoon.
Why You’ll Love It
- You’ll want to eat it straight from the saucepan. This chicken gravy is smooth and savory, and it makes everything it touches taste more delicious.
- Easy enough for a weeknight. It’s simple to make gravy from the flavorful drippings left behind after roasting a chicken, and it comes together in just 15 minutes.
Key Ingredients in Chicken Gravy
- Pan drippings: The fat and juices left behind after roasting a whole chicken or bone-in, skin-on pieces are the foundation of a flavorful chicken gravy.
- Chicken broth: You may need to supplement the juices in the drippings with chicken broth. Opt for low-sodium broth so that you can control the salt level.
- Vegetable oil or unsalted butter: If you have less than 1/4 cup of fat from the pan drippings, make up the difference with vegetable oil or melted unsalted butter.
- All-purpose flour: This thickens the gravy. Whisk it into the fat to make a roux before adding the liquid.
- Kosher salt and black pepper: The seasoning level of pan drippings can vary, so add kosher salt and black pepper to the gravy once it has thickened.
How to Make Chicken Gravy
- Roast whole chicken or chicken pieces. This recipe starts with the drippings from a roasted chicken. You can still make chicken gravy even without drippings. More on that in the next section.
- Check the drippings. If the pan of drippings appears relatively dry, add some chicken broth and simmer to release the flavorful bits. Pour the drippings through a fine-mesh strainer into a measuring cup or bowl.
- Allow fat to rise to the top. Set the drippings aside so that the rendered chicken fat rises to the top. You can speed up this process by placing the drippings in the refrigerator or freezer.
- Supplement drippings with fat and broth, if needed. You’ll need 1/4 cup of fat and 2 cups of juices for this recipe. If you do not have enough, add vegetable oil or melted unsalted butter to the fat and low-sodium chicken broth to the drippings to make up the difference.
- Make the roux. Heat the fat in a saucepan, then whisk in all-purpose flour. Cook the mixture for a few minutes until the floury taste is gone and it develops a golden color.
- Add the rest of the drippings. Whisk the drippings and broth into the roux until smooth, then simmer until thickened.
How to Make Chicken Gravy Without Drippings
If you do not have drippings from roasting chicken, you can still make a delicious, savory chicken gravy. Use 1/4 cup vegetable oil or melted unsalted butter and 2 cups low-sodium chicken broth. Because it won’t have the flavor from pan drippings, make sure to use good-quality chicken broth or, better yet, use homemade chicken stock.
Storage and Make-Ahead Tips
Leftover chicken gravy can be refrigerated in an airtight container for up to 5 days. For longer storage, freeze the gravy for up to 2 months. Thaw overnight in the refrigerator and rewarm over low heat, whisking to recombine.
What to Serve with Chicken Gravy
Chicken Gravy Recipe
So good, you’ll want to serve this chicken gravy over everything.
Prep time 5 minutes
Cook time 10 minutes
Makes 1 3/4 cups
Serves 8 to 10
Nutritional Info
Ingredients
Pan drippings from 1 (about 5-pound) Roast Chicken
- Up to 2 cups
low-sodium chicken broth
Vegetable oil or melted unsalted butter, as needed
- 1/4 cup
all-purpose flour
Kosher salt
Freshly ground black pepper
Instructions
When the chicken is ready, tip it upright so the juices can run out of the cavity into the skillet or roasting pan. Take the chicken out of the pan and set it aside to rest. Look at the pan drippings left in the roasting pan (make the gravy while the drippings are still hot). If there are enough liquid-y drippings to cover the bottom of the pan, move on to the next step. If some parts of the pan are dry, pour in 1 cup of the low-sodium chicken broth and place the pan over medium-high heat. Heat the drippings until they are simmering. Turn off the heat.
Scrape up all the bits from the bottom of the pan with a wooden spoon. Fit a fine-mesh strainer over a heatproof bowl or liquid measuring cup. Pour the drippings through the strainer and discard the contents of the strainer.
Let the drippings sit until the fat settles on the top, about 10 minutes (speed up the process by putting it in the refrigerator or freezer). Ladle or spoon off the fat and measure it; you will need 1/4 cup. If you have extra, discard or save for another use. If you have less, make up the difference with vegetable oil or melted unsalted butter.
Measure the remaining drippings; you will need 2 cups. If you have less, make up the difference with low-sodium chicken broth.
Heat the 1/4 cup fat in a medium saucepan over medium-high heat until hot. Whisk in 1/4 cup all-purpose flour and cook until bubbling and slightly darkened in color, 2 to 4 minutes.
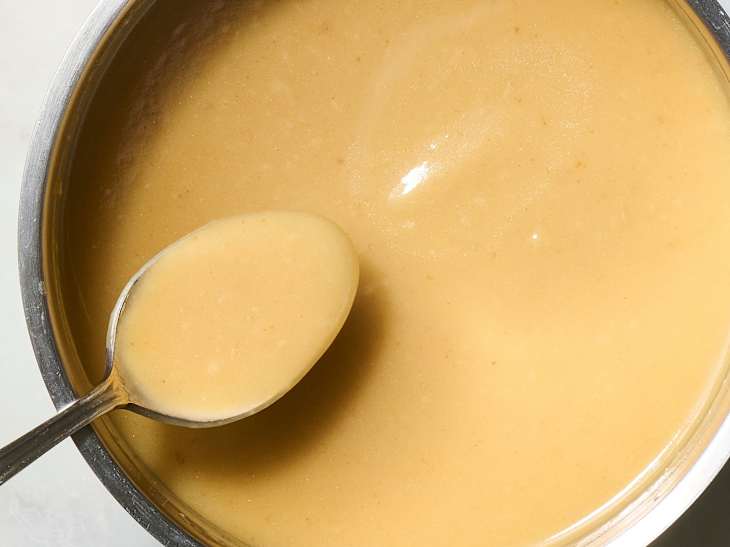
Pour in the broth and drippings mixture, and cook, whisking often, until it comes to a boil. Reduce the heat to maintain a simmer and simmer until thickened to coat the back of a spoon or to desired thickness, 2 to 4 minutes. Taste and season with kosher salt and black pepper as needed.
Recipe Notes
Storage: The gravy can be refrigerated in an airtight container for up to 5 days, or frozen for up to 2 months. Thaw overnight in the refrigerator and rewarm over low heat, whisking to recombine.